How do I configure the Blog?
To access your eCommerce blog you should open the following URL in a browser (remember to replace domain.com with your eCommerce domain)
http://www.domain.com/blog/
The blog is integrated into the eCommerce site, therefore the header and footer are the same as those used in the store and the content of the blog appears in the centre. It is set up in such a way that the latest posts appear on the cover. On the right hand panel users may subscribe to the post, navigate through the defined categories and scan through the tag cloud that has been defined in the posts.
You can connect elements within your eCommerce site to the blog to enhance the user's experience when navigating the content of your website and to increase the conversion rate of window shoppers to buyers in your online store for visitors arriving there from search engines having been led there by some element on the blog. Such links will guide them further into the store at all times.
To link to the blog from the store itself we can create a page such as Blog Home Page that will directly link to the front page of the blog, or else type a Blog Category which will let you choose which category in the blog you want to link visitors to.
General settings
In:
![]() > SETTINGS > Blog Settings
> SETTINGS > Blog Settings
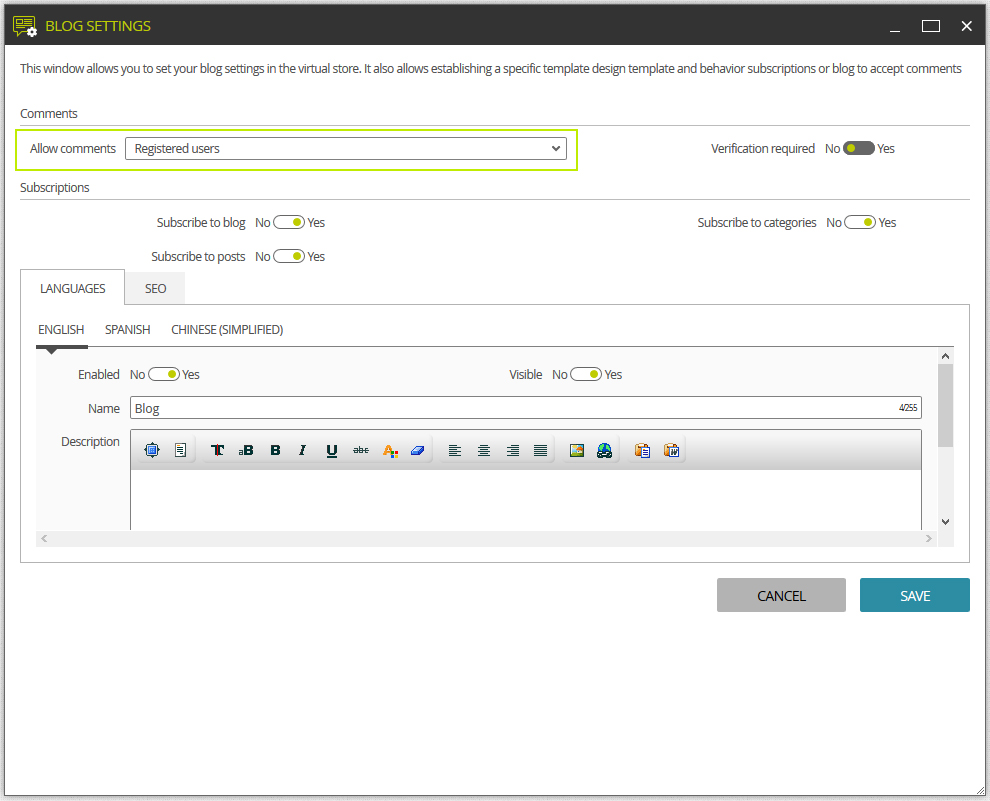
you will find a new section that will allow you to organize the general operation of the blog. In this configuration section, you can modify the following properties:
- Comments: Here you can decide if you will allow all the users to comment on blog posts or not. You can even disable the comments system.
- Subscription: Here you can decide whether to allow users to subscribe to the whole blog, to a category within it, or even to a particular post.
- Languages: Here you can define whether the blog is visible (and active) or not, for each of the available languages in the store. In addition, you can define a name for and a general description of the blog that can be displayed to the visitor.
- SEO: Here you can define the SEO of the blog's home page in each of the active languages. See the SEO guide for more information.
Content on the blog can only be created or updated by users defined as active Bloggers. There are two types of Bloggers: Editors/Authors (can create, edit and publish material) and contributors (who can only add comments). Bloggers can belong to any group of users. However, if they belong to the Admin group then they are Bloggers who have the authority to enter LogiCommerce and create or publish their own posts. While Bloggers from other groups are normally contributors who can add posts, but may not publish them directly. Posts from Contributors are vetted by Bloggers whose profiles identify them as Editors belonging to the Admin group and who can therefore publish them on behalf of the contributor.
In:
![]() > MAIN > Users and Groups
> MAIN > Users and Groups
you can create new LogiCommerce users who have editorial rights and can create new topics on the blog. Only Admin group users have access to LogiCommerce so it must be one of them who can define new Authors or Editors. When creating or editing such a user, you can indicate if they are to be an editor or not. You can also edit any properties associated with them.
-
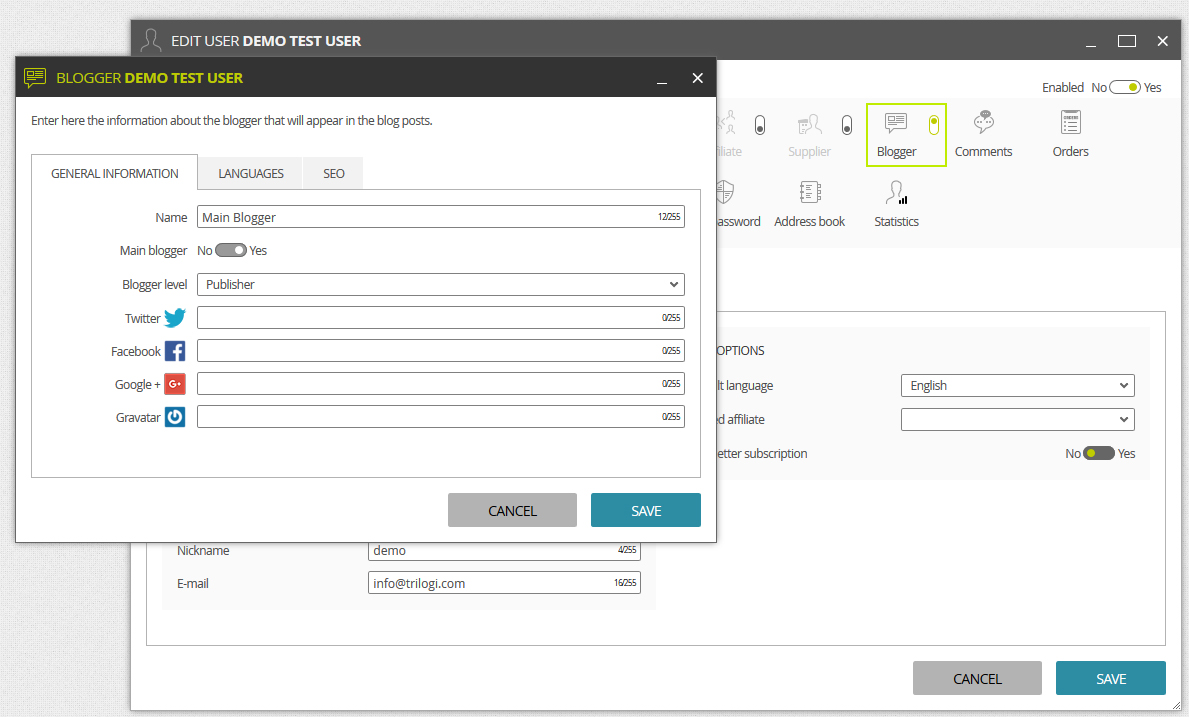
General Information:
Name: name of the blogger. This will be displayed on the blog in order to indicate who the author of the post is.
Main blogger: defines whether this person is the default blogger for the blog. This information is assigned to those elements on the blog that have not been linked to a particular blogger (for example structured data mark ups like category rich snippets).
Blogger Level: here you can define if the blogger has permission to directly publish posts or if they can only contribute them, leaving them inactive until a user with editing rights can make them visible.
Social networks: here you can add links to the bloggers profiles on major social networks.
Gravatar: here you can associate the globally recognized avatar with a blogger in order that this can be displayed in their publications and on their profile. You must fill this blank with the email associated with this user's gravatar. More info on gravatars can be found here https://es.gravatar.com/
-
Languages:
Description: here you can create a description to define a blogger's profile. This will be displayed on the contributor's profile page on the blog.
-
SEO:
Here you can define a specific SEO for the contributor's profile page. See the SEO guide for more information.
Using the menu:
![]() > EMARKETING > SEO tools
> EMARKETING > SEO tools
you can enter SEO Settings where you can edit different elements in your eCommerce store.
Select Titles and Metadata and in the tab Blog you can define the default SEO to be displayed on the contributor's profile pages. If you have not set specific values for category and post the default values will be used. See SEO guide for more information.
SitemapUsing:
![]() > EMARKETING > SEO tools > Sitemap
> EMARKETING > SEO tools > Sitemap
you can enter a space where you can edit the elements you wish to automatically appear in the sitemap generated by search engines. From there you can define whether elements of the blog will form part of the sitemap.
Configuring registered usersUsing:
![]() > SETTINGS > Blog settings
> SETTINGS > Blog settings
you can define the need for users to validate their email address before they can make comments on the blog. This validation will only be required if users have had to register in order to be able to make comments on the blog.
Even if the general configuration of the store states that in order to register, email validation is not necessary, you can still add this requirement exclusively for the blog.