How can I create a tax?
To create and set taxes up, we must go to:
![]() > SETTINGS > Taxes
> SETTINGS > Taxes
Once in this window, we can create a New Tax.
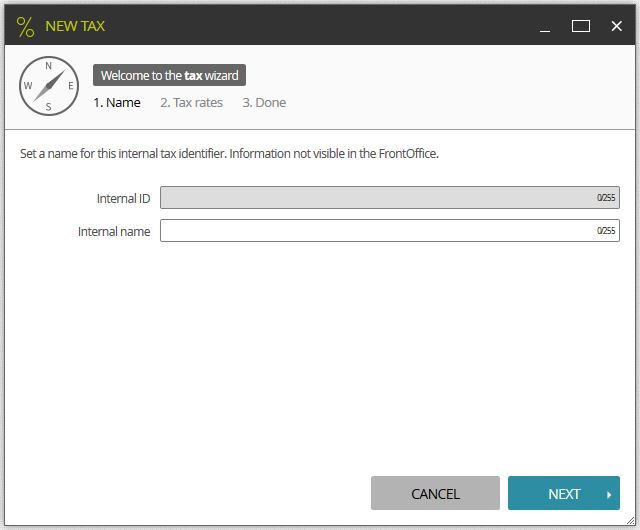
In the first screen, we must fill the Internal Id field in. This will be used as the unique identifier for this tax (in the example we have used “newtax” as the Internal ID). We fill the Name field in as well, which is only displayed internally. Once these fields are filled in we press on NEXT.
In the next window, we must add and define every tax rate the tax we are creating can have, and click on Add tax rate.
In this new window, we must fill in the fields with the information for each tax rate.
Internal ID: Unique identifier which unambiguously differentiates one element from another.
Internal Name: Name used to define the tax at internal level. Not displayed in the FrontOffice.
Internal comment: : If needed, we can fill in this field for internal information.
Tax rate: Rate to be applied to the base price of the product.
Sales equalization tax: If needed, rate at which this surcharge will be applied to the gross total.
Name: Name to be displayed in the FrontOffice for the tax we are setting up.
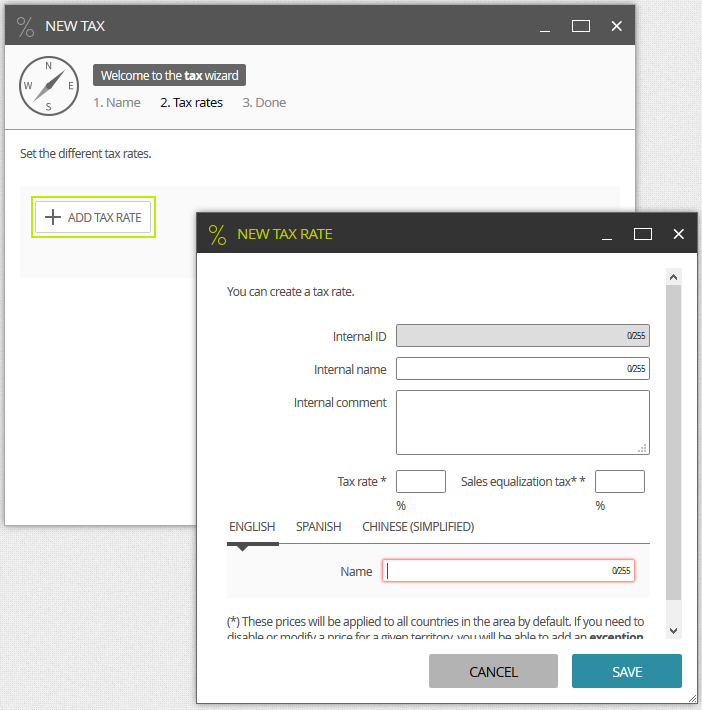
Once all the data has been filled in, we must save, so the changes can apply.
 We can create as many Tax Rates as our products require.
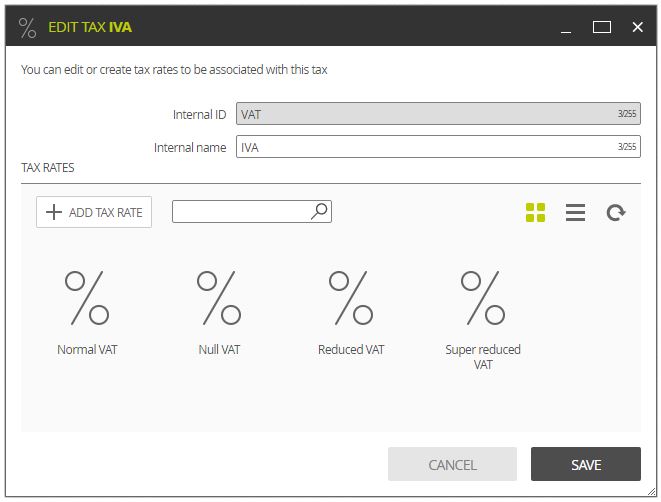
All these tax rates can have defined location exceptions. Depending on the location of the customer, it can be specified whether the customer is in a tax free location or not, or if the location has a different tax rate or not.
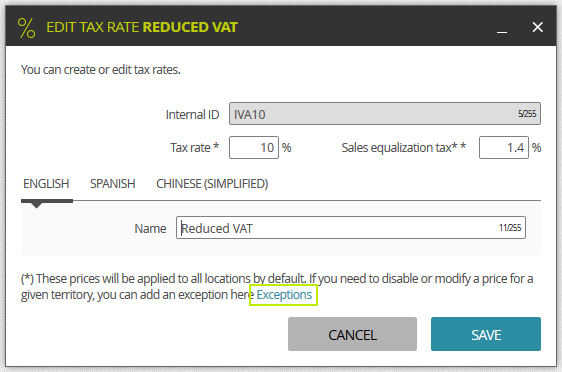
In order to define these exceptions, we can edit the Tax rate, by double clicking on the tax rate, or by right clicking and pressing on edit.
In this new window, click on Exceptions in the lower part with the red square marking:
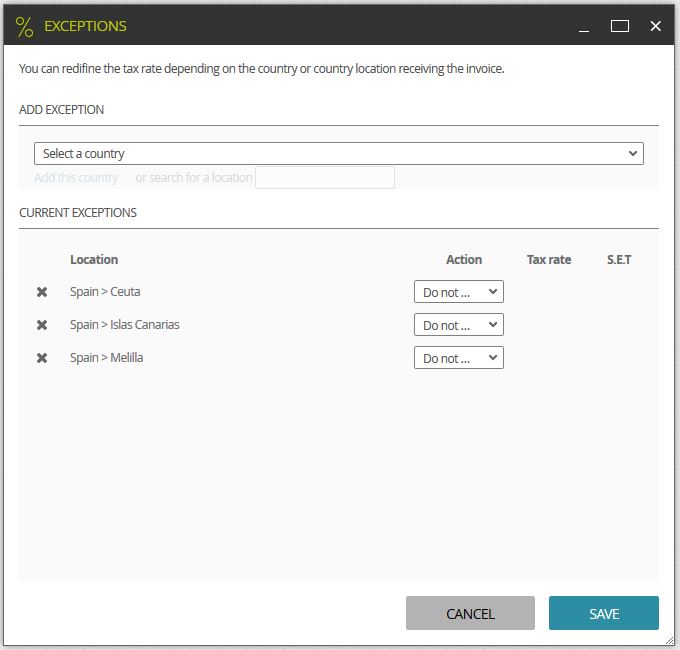
In the Exceptions window, we can set different exceptions depending on the country, area or region we may need.
We select the country where we want to add an exception. Then, we select the zone or area, if required. Once selected, we can add it, so it can be displayed in the lower part to proceed with its configuration.
Once it is displayed in the lower part, we must define the action. We have two options:
- Redefine: When selecting this option, we can make a new definition of the taxes in this country, zone or are. Next to the dropdown selector two new fields will appear to redefine the tax rate and the equivalence surcharge.
This option can be very useful to exclude a geographic area from a country to determine a different tax rate for the selected area.
The assignment of these taxes and their respective exceptions can be set up so they apply depending on the customer’s billing or shipping address. This feature, among others, can be set up in the Tax configuration window, which can be accessed from the Settings button in the Taxes main window.